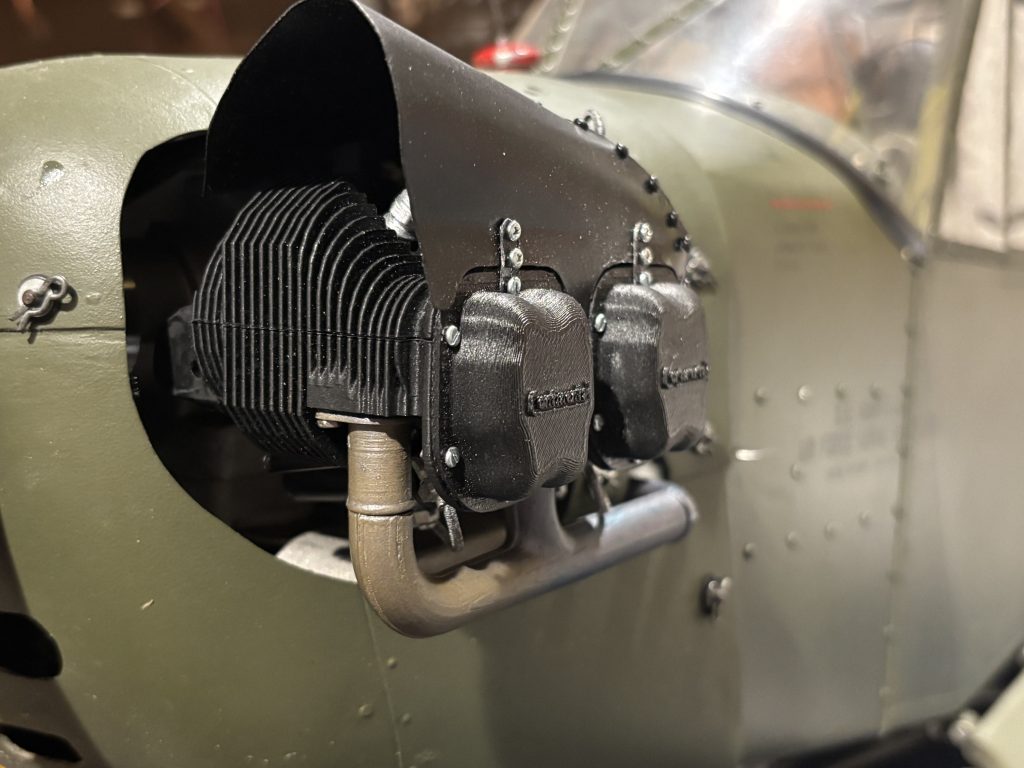
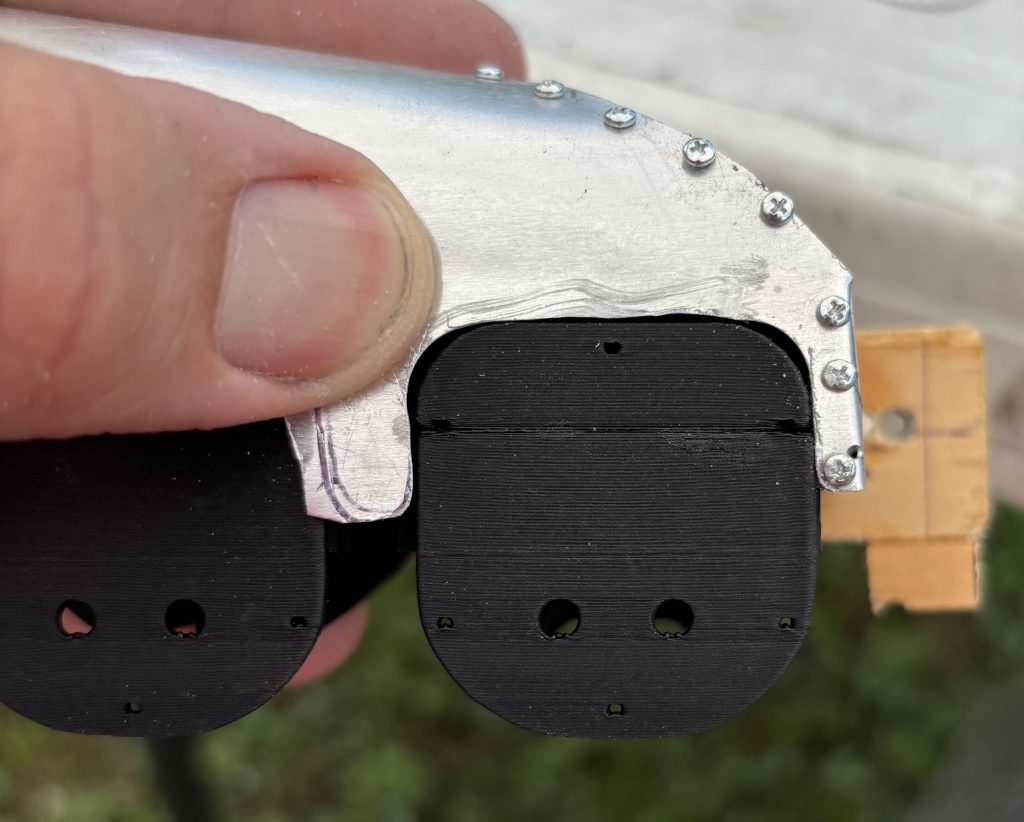
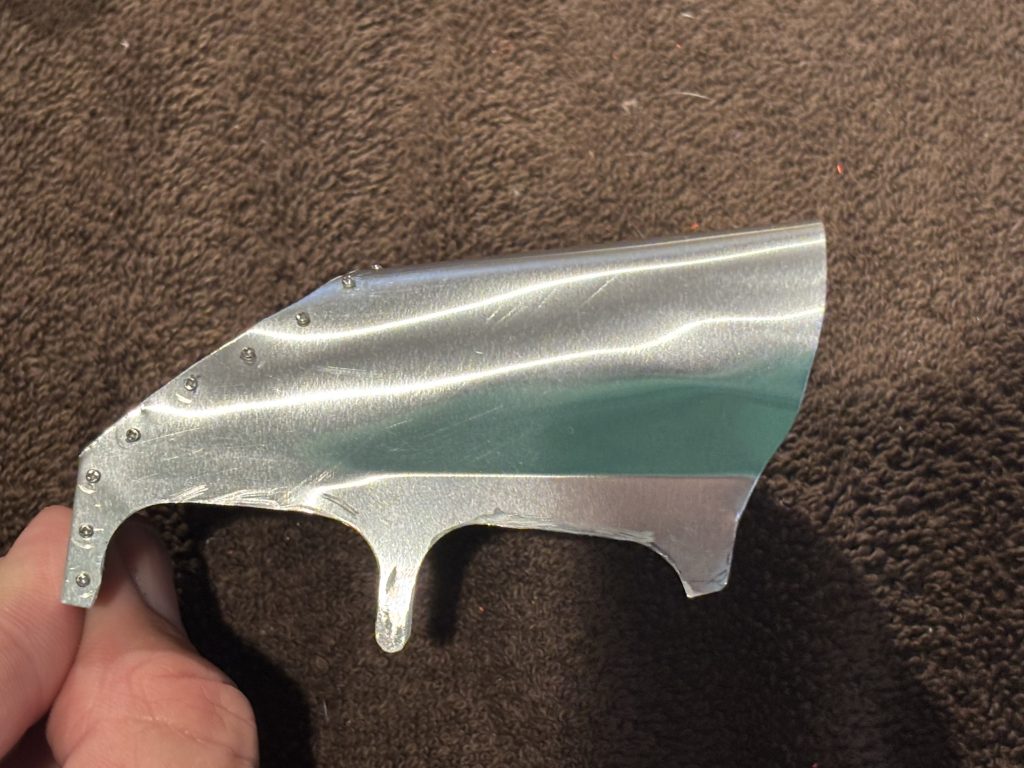
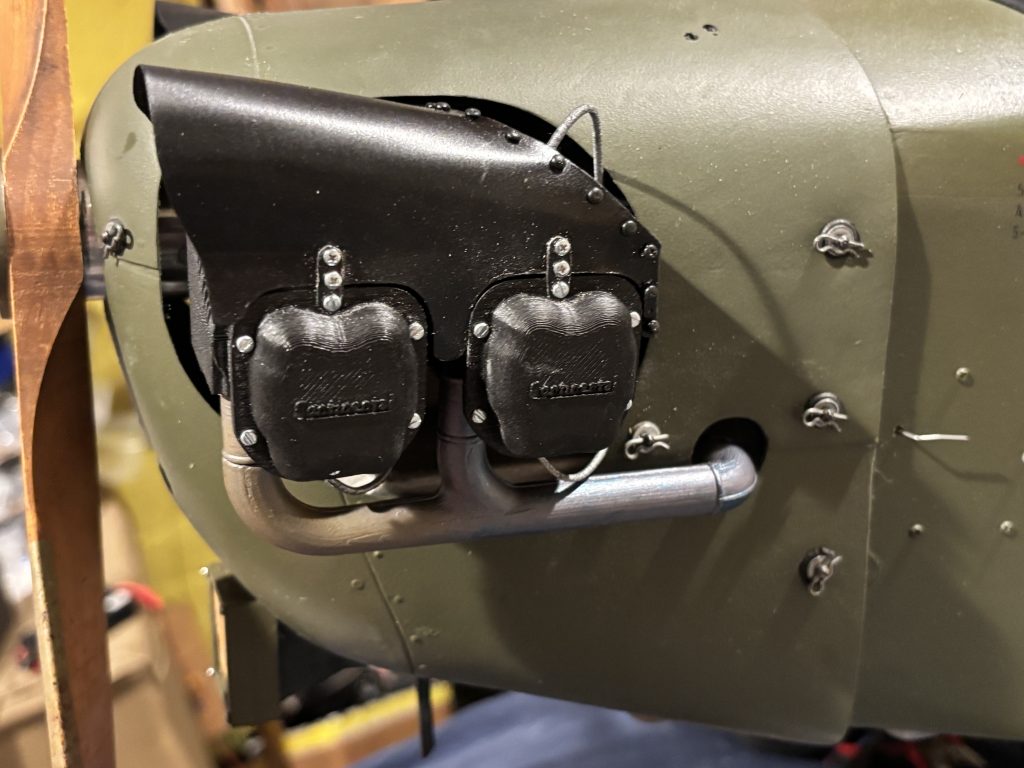
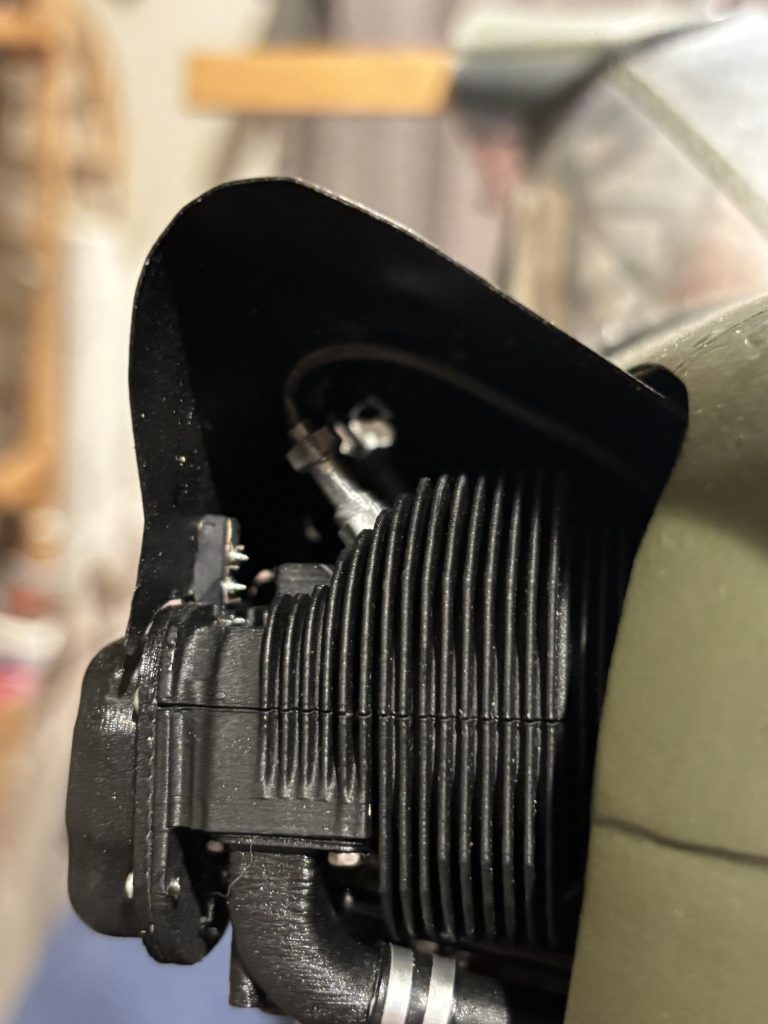
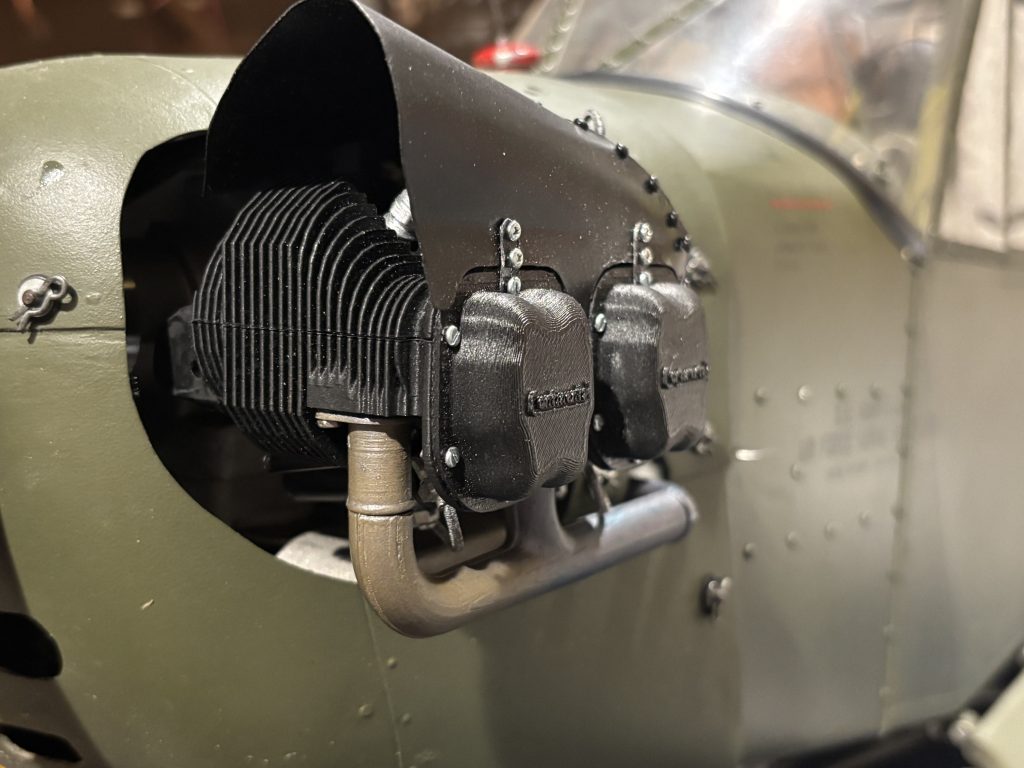
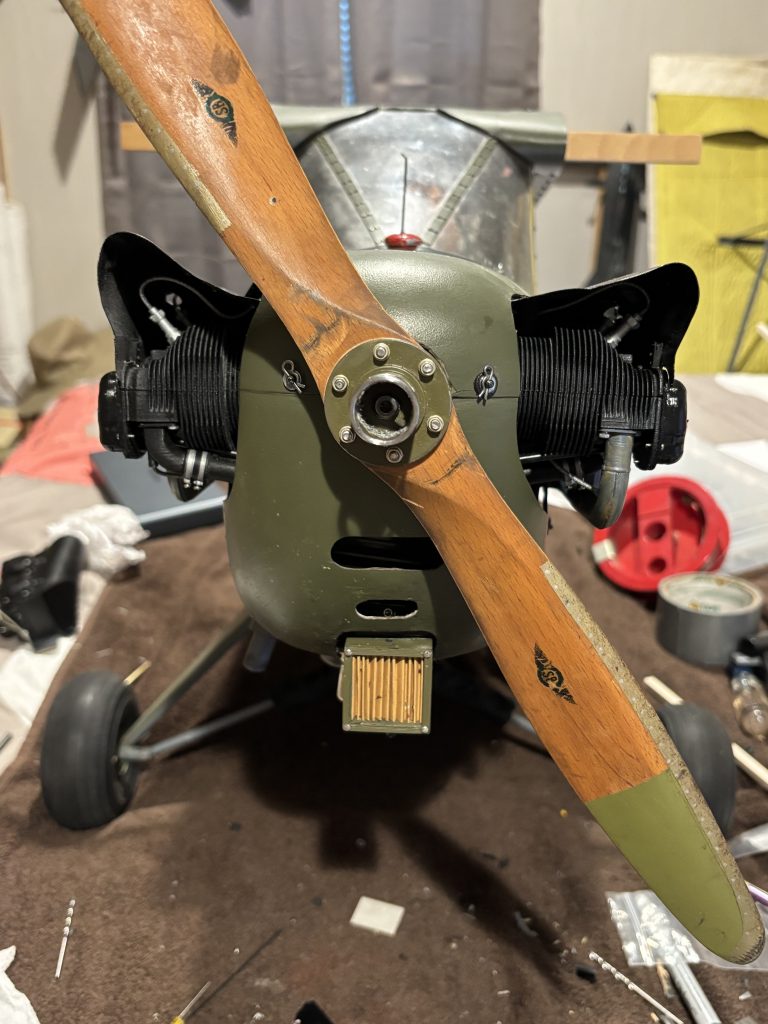
The metal scoops on top of the Cub engine are referred to as Eyebrows.
For years I had made them from thin plastic. they would hold up for a year or two. So I decide to grab the full scale drawings and scale them down. Next cut and form then from then metal. The source of meatal I’m using is a metal yard sale sign that can be found at most hardware stores. Also can use aluminum flashing for roofing at a thickness around .01 If you are working from the kit aluminum flashing is included.
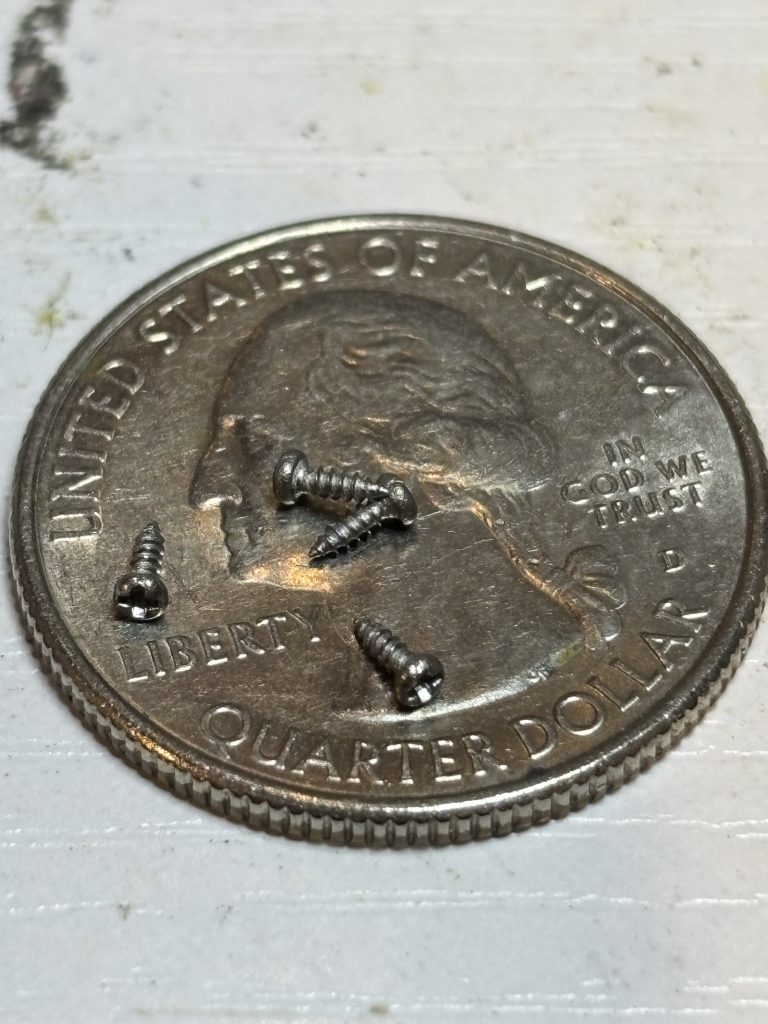
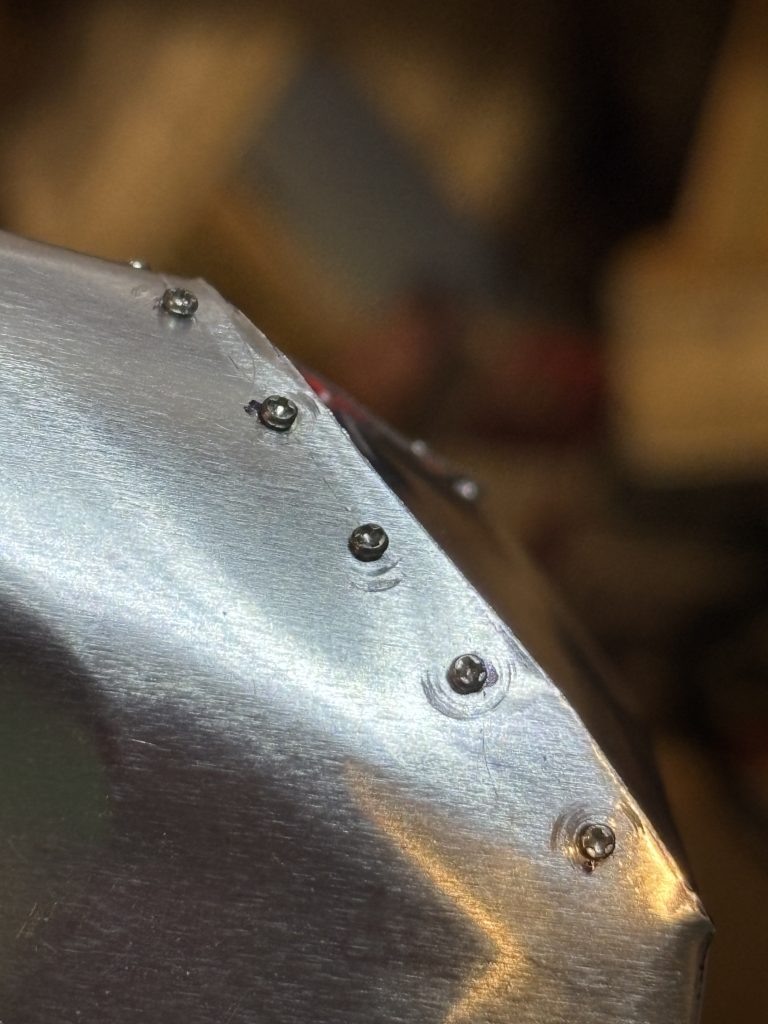
The full scale used a1/8-inch soft aluminum rivets which have a .25-inch head on them. When you do the math, this gives you a .0626 head for 1/4 scale and .083 for a 1/3 scale. #0 screw has a head size of .116 making it two big for scale. You can still use the #0 screws but if you are looking for scale I recommend 1m x3m metric pan head screws. They are still a little large for ¼ scale but look way better than the #0. If you are building from the engine kit they are included in the kit price.
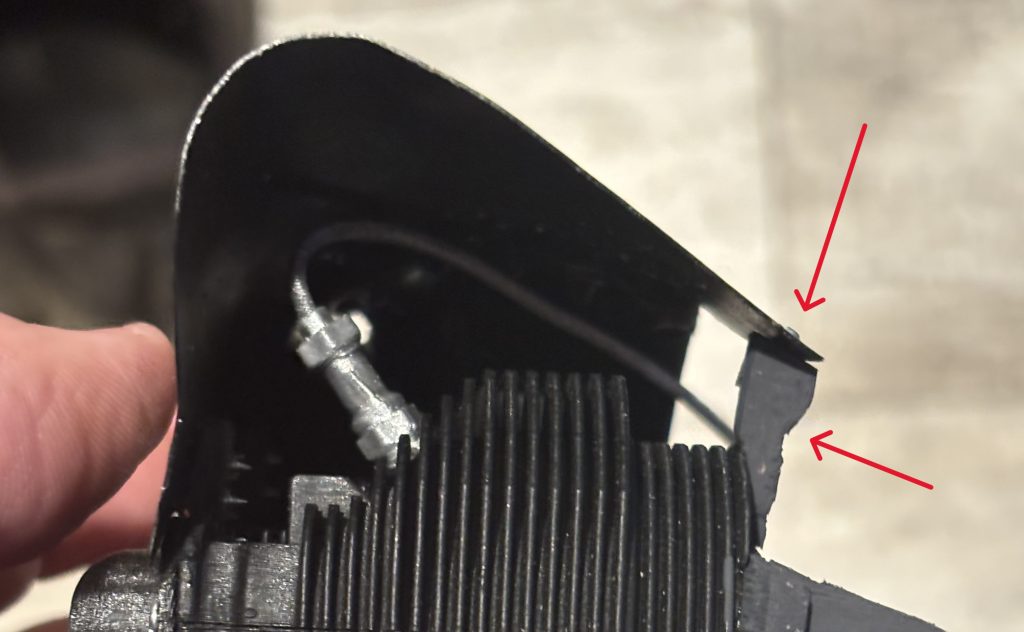
Tip if using a metal sign, it is recommend to put the sign side to the inside and the non printed side to the outside. After painting you can see where the sign was printed. If you look below you can see how the print is raised a little. The black arrow is pointing to some of the sign text after painted black.
Some of the phots below show the #0 screws and have not been updated to show the metric screws.
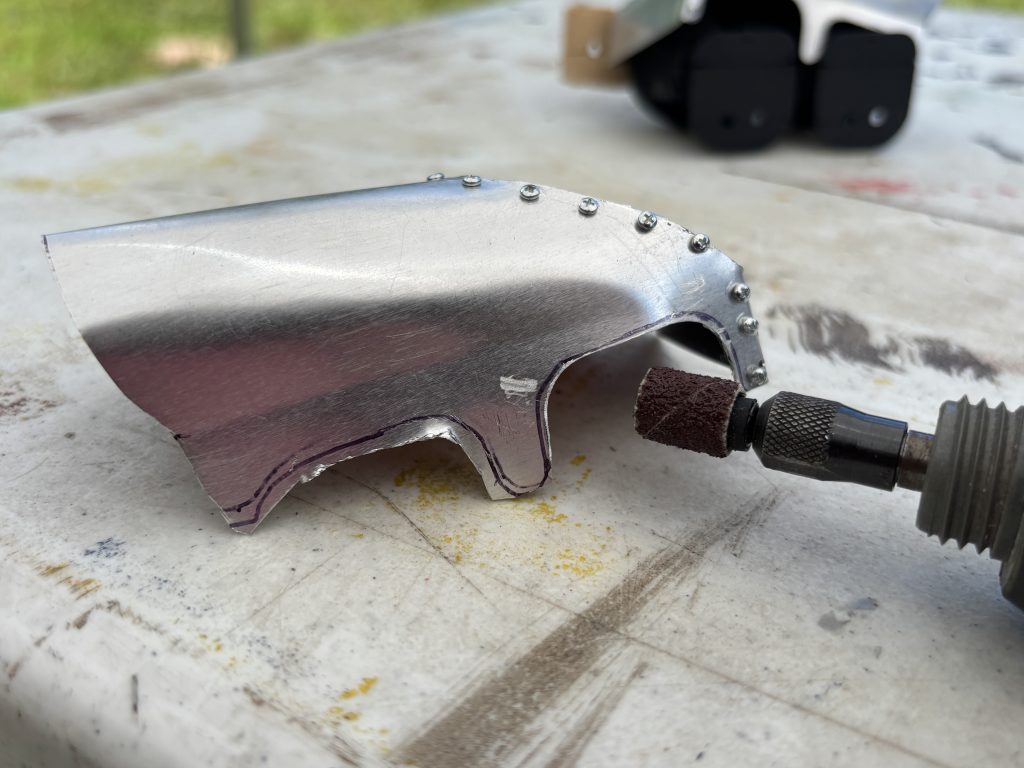
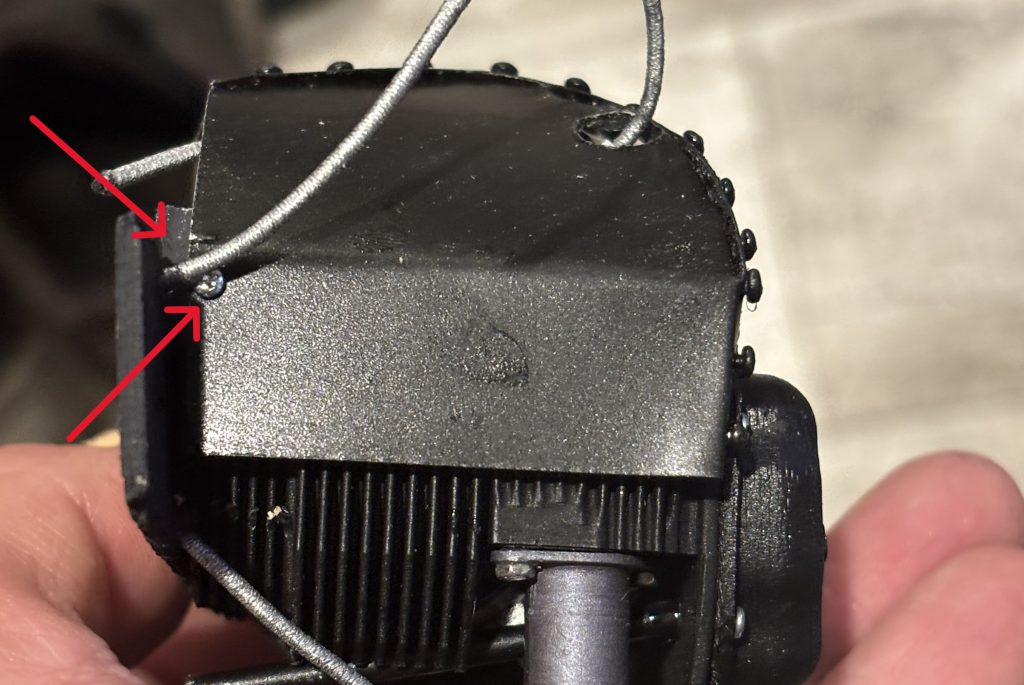
So lay the template out and trace around it. Make note of the bend lines and do not cut them. For the back rounded section take note from the photo of how its nipped. Also for the bottom opening that will set on top of the valve covers, you will see I do not trim them to the line I do this later to get them to fit with the engine outline. Also don’t forget to mark the location for the rivets. Star to make your bends, including the rounded back side. I have a pair of covering pliers that help to make the long bends.
If using the #0 x 1/4 – pan Head Sheet Metal Screws, they do look like small rivets. I use a .035 drill bit in a hand finger drill to make the holes. I start with my screws at the bottom back corner and work my way to the top of the back rounded part. As you get to the top you will need to stretch the inside ends to meet and I use a set of vise grips to hold it while I finish the rivets.
If going with the Metric more scale look, I use a .028 bit in a hand drill for the holes. I recommend installing the screws over a magnetic parts tray so not if but when you drop them it will catch them.
Now that you have it together with the phillips screws start replacing them with the hex head screws. When finished with putting the hex screws in, flip them over. on the back side where the screws are exposed and the metal is put together I coat it with JB weld. This will keep the screws from vibrating out and keep the meatal together.
After the JB Weld has set over night its time to trim the valve cover openings. I use a small fine sanding drum on my rotary tool for this job.
Slowly remove a little at a time till you have a good snug fit.
Don’t forget to make 4 of the mounting tabs that attach the eyebrow over the center screw on the valve cover.
When happy with all the parts give them a good coat of paint.
If you are building the kit, now is time to jump back over to that page. If you’re not, then why not. LOL, Keep on going if you are making eyebrows for an existing setup you have.
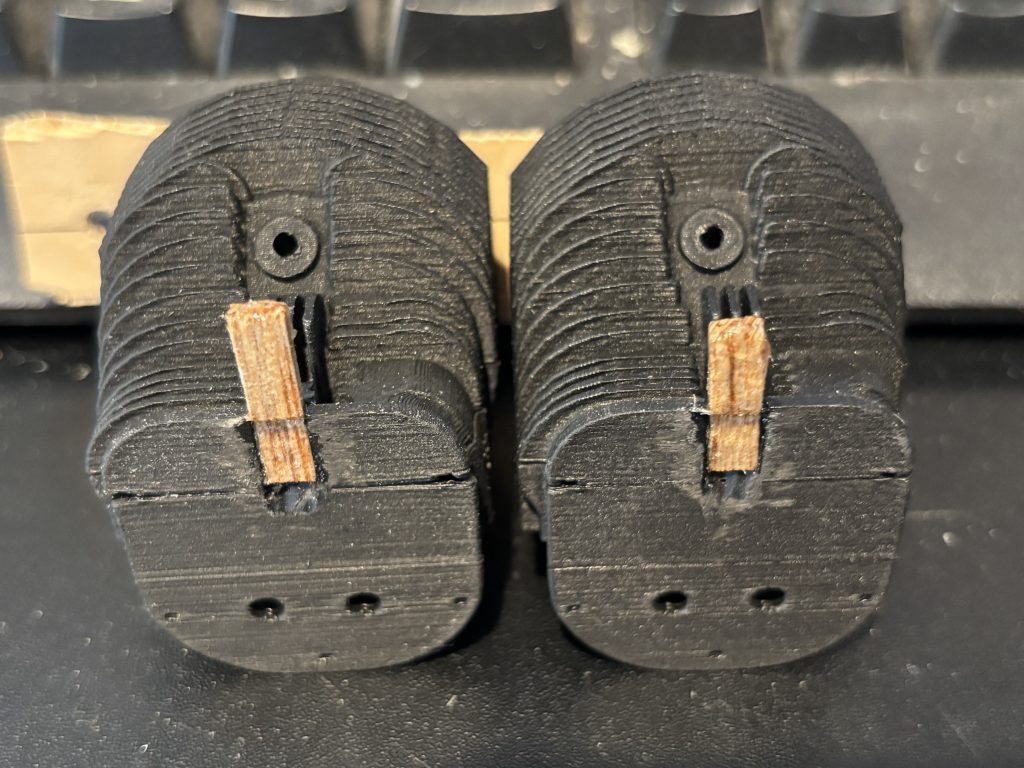
Now time to get the engine ready for the eyebrows. On the full scale they have a mounting bracket at the top center screw of the valve covers. I dig down in the back of my head with a bur tool in my rotary tool. I make a hole so I can insert 1/16 thick spruce sticks. They need to be left long enough for the mounting tabs on the back side of the engine, you will need to add some 1/4 square spruce or hard balsa to mount the eyebrows too. I paint all the areas a flat black to help hide it. You may need to do something different for your setup.
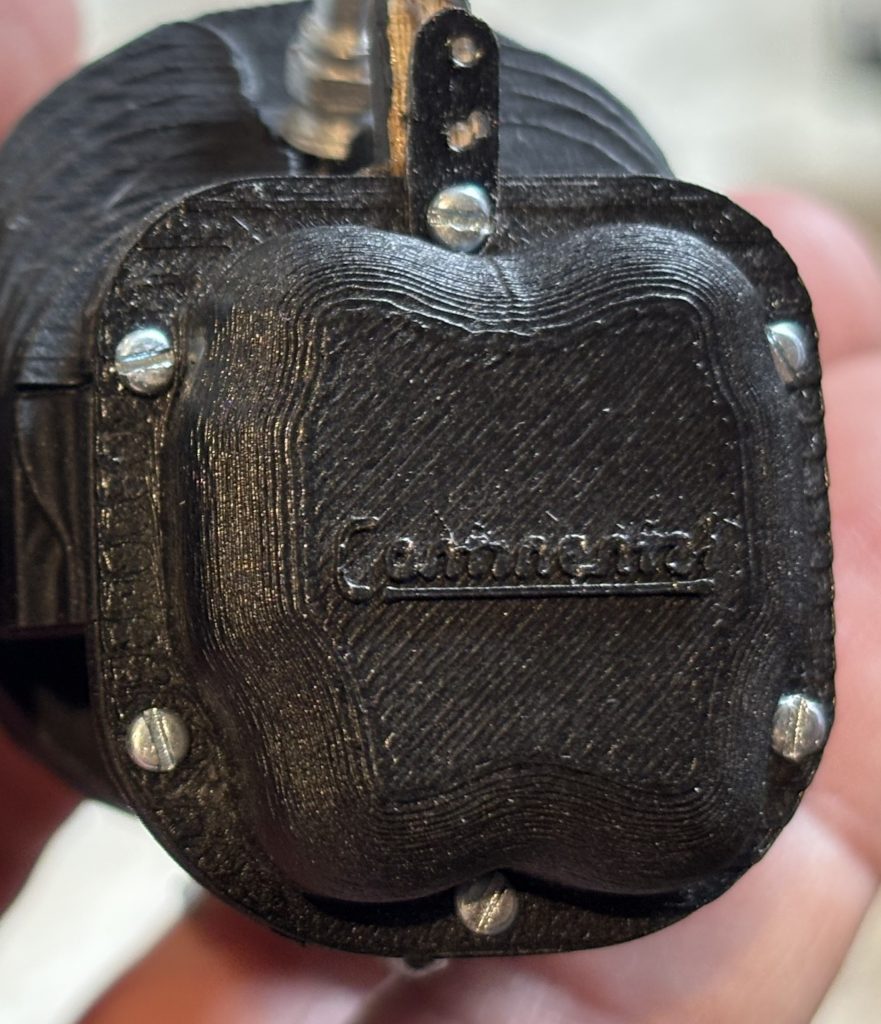
Again using the phillips screws first to make the holes then switching over to the hex drive screws. The mount tags are just some scrap metal (for 1/4 scale I made them 1/8 wide and 1/2 inch long) I rounded the edges a little to make it look like this ). I make the holes in the engine side and mount them to the engine. Then set the eyebrow in place and finish adding two more screws to the top into the eyebrow.
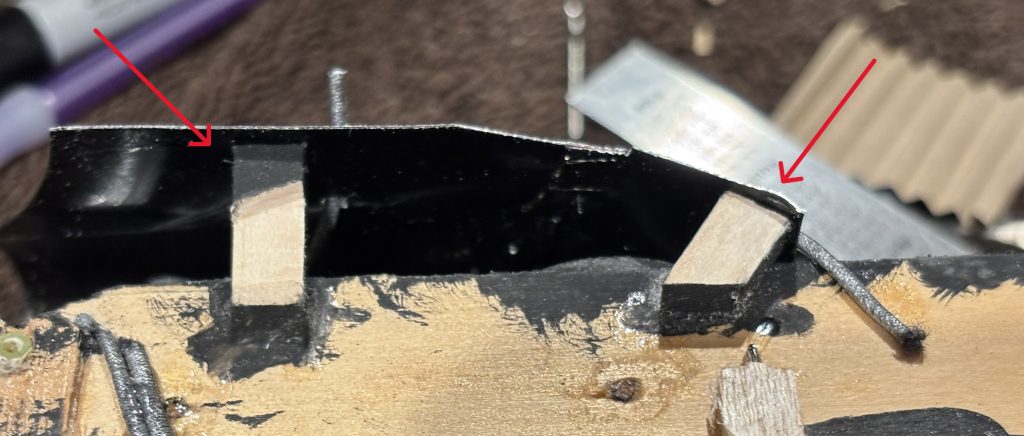
For the back side of the eyebrow, I like to use some scrap spruce stock and make a hard point on the back and the front of the eyebrow. I will paint them flat black to help hide them. Below points out the hard points. I use a #0 screw not supplied to attach the eyebrow.